Develop your
first roll.
Chromogen is a film emulation photo editor for Windows and macOS. This guide takes a RAW or JPEG photo from download to a finished export in nine steps, then goes deeper into every tool.
Last updated

How do I go from download to my first export?Nine steps.
Chromogen takes a photo from download to a finished export in nine steps. Get the installer, install it and start the free 4-day trial. Open a photo, pick one of 13 film stocks, then set Shot Exposure and Development. Balance the tone in Develop, check it against the original, then export. Every step below names the exact button.
A first roll is one photo opened, developed through a film stock and exported as a separate file; the original is never changed.
- Enter your email at chromogen.app and press Try it free; the page shows Download Chromogen and emails the link.
- Install: on Windows run ChromogenSetup.exe; on macOS open the .dmg and drag Chromogen into Applications.
- On the first screen press Start your free 4-day trial, or paste a key and press Activate.
- Drop a photo or a folder on the stage, or press Open a photo (Ctrl+O, ⌘O on macOS).
- Press 2 for Film Stock, hover a stock to preview it on your photo, then click to apply it.
- Set Shot Exposure on the Film Stock card, then Development (Pull 2 to Push +3).
- Press 3 for Develop; press Auto develop for a metered start, or set White Balance and Exposure yourself.
- Hold Space to see the undeveloped original; let go to see your develop.
- Press Ctrl+E (⌘E on macOS), choose the Web & social preset, pick a destination and press Export photo.
The export lands beside the original or in the folder you chose, never over the original. In the trial, exports stop at 2048 px on the long edge, with no watermark.
| Key | What it does |
|---|---|
| 1 to 9 | Workspaces: 1 Library, 2 Film Stock, 3 Develop, 4 Masking, 5 Color, 6 Effects, 7 Text, 8 Layout, 9 Export |
| Space or \ | Hold to see the undeveloped original |
| Ctrl+Z, ⌘Z | Undo one change; Ctrl+Shift+Z, ⇧⌘Z redoes it |
| Ctrl+K, ⌘K | Assistant command bar: type ‘warmer’, ‘grain 30’, ‘push 1’ or ‘where is…’ |
| Double-click a slider | Reset only that slider |
| ? | The Keyboard shortcuts sheet |
What is Chromogen and what do I need to start?What you need.
Chromogen is a desktop application, not a plugin, not a web app, not a mobile app. It needs no other editor underneath, though it works alongside Lightroom Classic and Capture One. It opens 16-bit RAW, JPEG, PNG and TIFF files and develops them through 13 film stocks measured from real film.
Film emulation software, also called film simulation, gives a digital photo the analogue film look; Chromogen does it by measuring the film rather than approximating it.
| Requirement | Windows | macOS |
|---|---|---|
| System | Windows 10 or 11 (64-bit) | macOS 11 (Big Sur) or later; Apple Silicon (M1 to M4) and Intel |
| Memory | 8 GB RAM; 16 GB for RAW and batch work | 8 GB RAM; 16 GB for RAW and batch work |
| Disk | about 300 MB | about 400 MB |
| Download | ChromogenSetup.exe | Chromogen-AppleSilicon.dmg or Chromogen.dmg |
| What you get | Free trial | With a license |
|---|---|---|
| Film stocks | 5 of the 13; the other 8 preview on your photo when you hover them | All 13 stocks, 36 looks |
| Export size | Up to 2048 px on the long edge | The photo's full resolution |
| Watermark | None | None |
| RAW developing and every editing tool | Included | Included |
| Preset and LUT import | Unlocks with a license | Lightroom and Capture One presets, and your own LUTs |
| Cost | Free for 4 days, no credit card | $29 a month (cancel anytime), $228 a year ($19 a month), or $498 once |
One license · Windows or macOS · one computer at a time. The same key activates the Windows app and the macOS app. Move it between your own machines freely; two computers at once need a second license. Purchases go through Lemon Squeezy in US dollars, taxes added at checkout, and all sales are final. The free trial exists so you can decide first. A running promotion, when there is one, is shown with the pricing on the home page.
How do I install Chromogen on Windows or macOS?Install.
Chromogen installs from one file on each platform: ChromogenSetup.exe on Windows 10 or 11, a .dmg disk image on macOS 11 or later. Both are hosted on GitHub Releases. The Windows installer carries everything the app needs, with no prerequisites; the macOS build is notarized by Apple and opens with a normal double-click. The trial download arrives by email.
Download the Windows installer or the macOS disk image from the download page.
On Windows
- Run ChromogenSetup.exe; if the browser asks, choose Keep.
- If the blue Windows protected your PC screen appears, click More info, then Run anyway; normal for new software.
On macOS
- Check About This Mac: Chip: Apple takes the Apple Silicon download, Processor: Intel takes the Intel one.
- Open the .dmg, drag Chromogen into Applications and double-click it; there are no warnings to click through.
The first screen
The first screen reads “Film emulation that behaves like film.” and lists what the trial includes and what a license unlocks. Press Start your free 4-day trial, or paste a key into the box and press Activate. Later the key lives in Settings ▸ License: paste it from the purchase email and press Activate. To move machines, enter the same key on the new computer; if activation is stuck, email halide@chromogen.app. On Windows, installing a new version over an old one keeps your license, settings, library and every saved edit. Trouble installing? Email halide@chromogen.app.
What makes a digital photo look like film?Why it looks
like film.
Chromogen makes a digital photo look like film by measuring film. Each of the 13 stocks starts as a 140-patch reference target shot on real film. It is read on lab scanners and rebuilt as a characteristic curve and three dye layers. Grain read from real film and halation modelled in linear light follow.
Each stock is a measured film response, not a preset. A preset freezes one exposure. A stock is the film measured at every stop.
- A characteristic curve. Density against log exposure, carried per stock.
- Dye-layer colour. Three dye layers multiplied in register.
- Grain. The colour stocks carry the grain a lab scanner reads from real film.
- Halation. Bright lights bloom in linear light, and each stock keeps its own glow signature.
- An exposure response. Shot Exposure and Development change the character the way under- and over-exposed, pushed and pulled film does.
The scanners were a drum scanner and a Fujifilm Frontier SP-3000. The exhibit-by-exhibit story is on how each film stock is measured.
How do I open a photo or a folder?Open.
Chromogen opens a photo three ways. Drop a file or a whole folder anywhere on the window. Press Open in the top bar (Ctrl+O on Windows, ⌘O on macOS). Or add a folder in the Library. It reads 16-bit RAW from the major camera makers, JPEG, PNG, TIFF and BMP; RAW gets the most out of it.
A RAW file is developed scene-linear with highlight reconstruction, and the full 16-bit file keeps highlight and shadow latitude. The RAW extensions in the Add photos picker are .arw, .cr2, .cr3, .nef, .nrw, .dng, .raf, .orf, .rw2, .pef and .srw. ProRAW DNGs from an iPhone open in full 16-bit quality.
- Drag a photo or a folder onto the window; it lands in your last Edit section.
- Or press Open in the top bar, or Add a folder or Add photos… in the Library.
- Shooting RAW and JPEG together? Turn on Pair RAW + JPEG into one photo in Settings ▸ Library.
Your folders are the catalog. Chromogen catalogs photos where they are on disk and never duplicates or moves them unless you accept the tidy prompt. There is no catalog database to corrupt or import. The sidecar is a small .chromogen.json file saved beside each photo that holds every edit, masks included, and travels between Windows and macOS. The original is never modified unless you press Save in a round trip.
How do I cull a shoot fast?Cull.
In Chromogen, culling happens in the Library grid and its full-screen preview, from the keyboard. The keys 0 to 5 rate a photo and advance; P picks, X rejects, U clears the flag. Enter opens the preview and Esc returns to the grid. A reject never touches the file, and the Flag filter shows Any, Picks or Rejects.
The Library is a full-bleed grid with a culling loupe, star ratings, Pick and Reject flags, collections, filters, search and saved views. New installs sort by import date, newest first.
- Press 1 for Library, then Enter on a photo to open the preview.
- Press 0 to 5 to rate and advance, P for Pick, X for Reject, U to clear.
- Set the Flag filter to Picks, then right-click ▸ Collections to gather them; a collection never moves a file.
- Delete moves a photo to the Recycle Bin on Windows or the Trash on macOS; it can come back.
Organize can later re-route the whole shoot into folders by date, camera, ISO, aperture, format, rating or colour, as moves or as copies.
In what order should I develop a photo like film?The develop order.
Develop a photo in this order. Lens correction and Lens Sharpen first, since they go on before the film. Then metering and white balance, the film stock, Shot Exposure and Development, grain and halation, masks, a film border, and export. The stock is the base look, chosen before any preset, and everything after it sits on top.
Acutance is film-like sharpness without digital halos, a card in Effects. Lens Sharpen sits beside it and puts back the detail the lens and the sensor softened, before the film goes on.
- In Effects ▸ Optics & Geometry, turn on Auto lens correction: distortion, fringing and vignetting go before the film.
- Lens Sharpen (Effects ▸ Sharpness & Detail) puts back the detail the lens and sensor softened.
- In Develop, press Auto develop for a metered start, or set White Balance and exposure yourself.
- In Film Stock, hover a stock to preview it; click to apply it.
- Set Shot Exposure, Under 3 to Over +3, for the negative you want.
- Set Development, Pull 2 to Push +3, for the contrast and grain you want.
- Set Film Grain and Film Halation on the stock card, 0 to 150% each.
- Press 4 for Masking to dodge, burn and adjust part of the frame; J for Heal.
- Pick a Film border, then press Ctrl+E (⌘E on macOS) to export.
How do I choose a film stock?Film Stock.
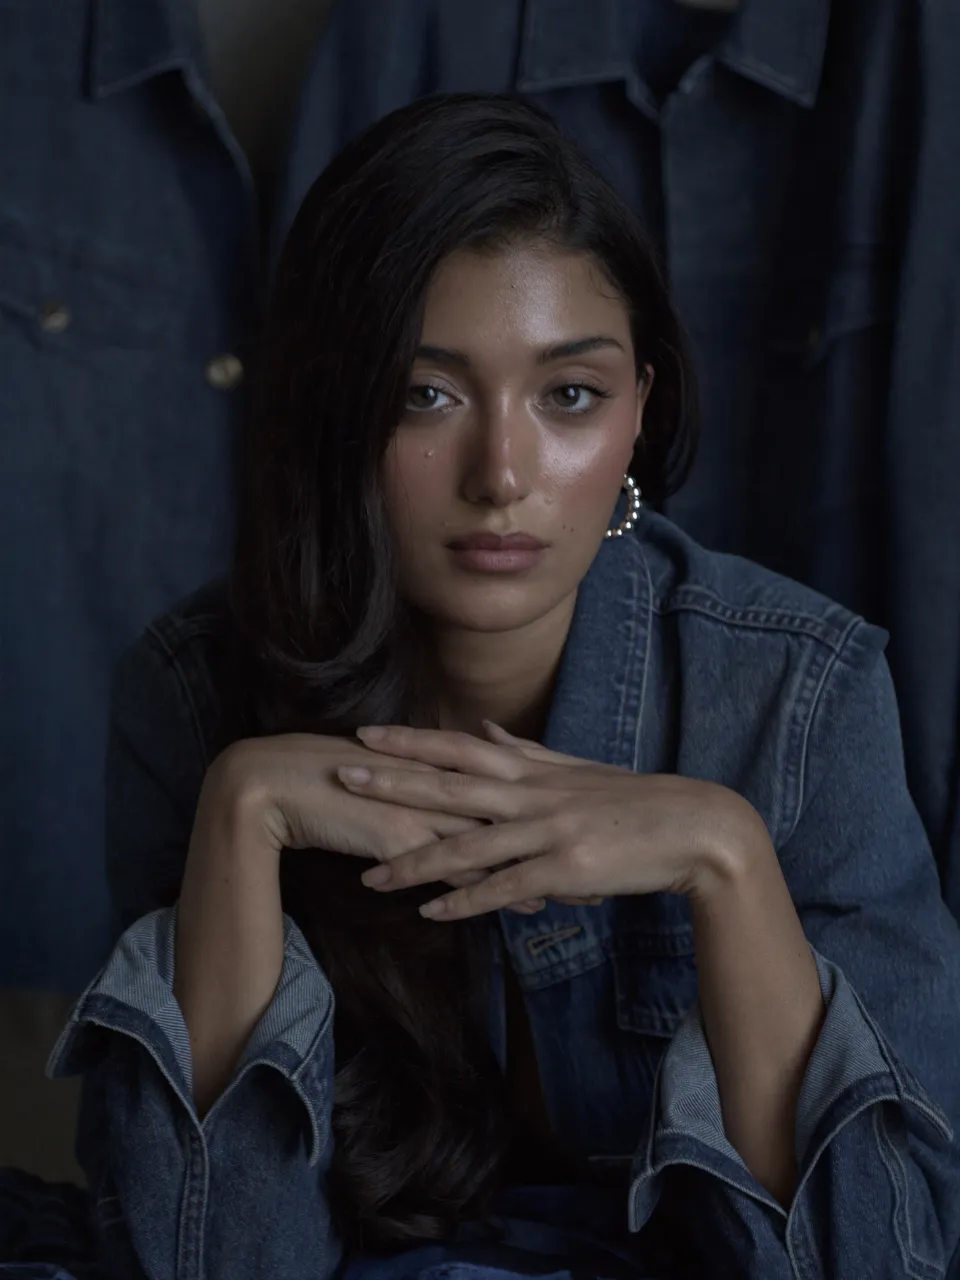
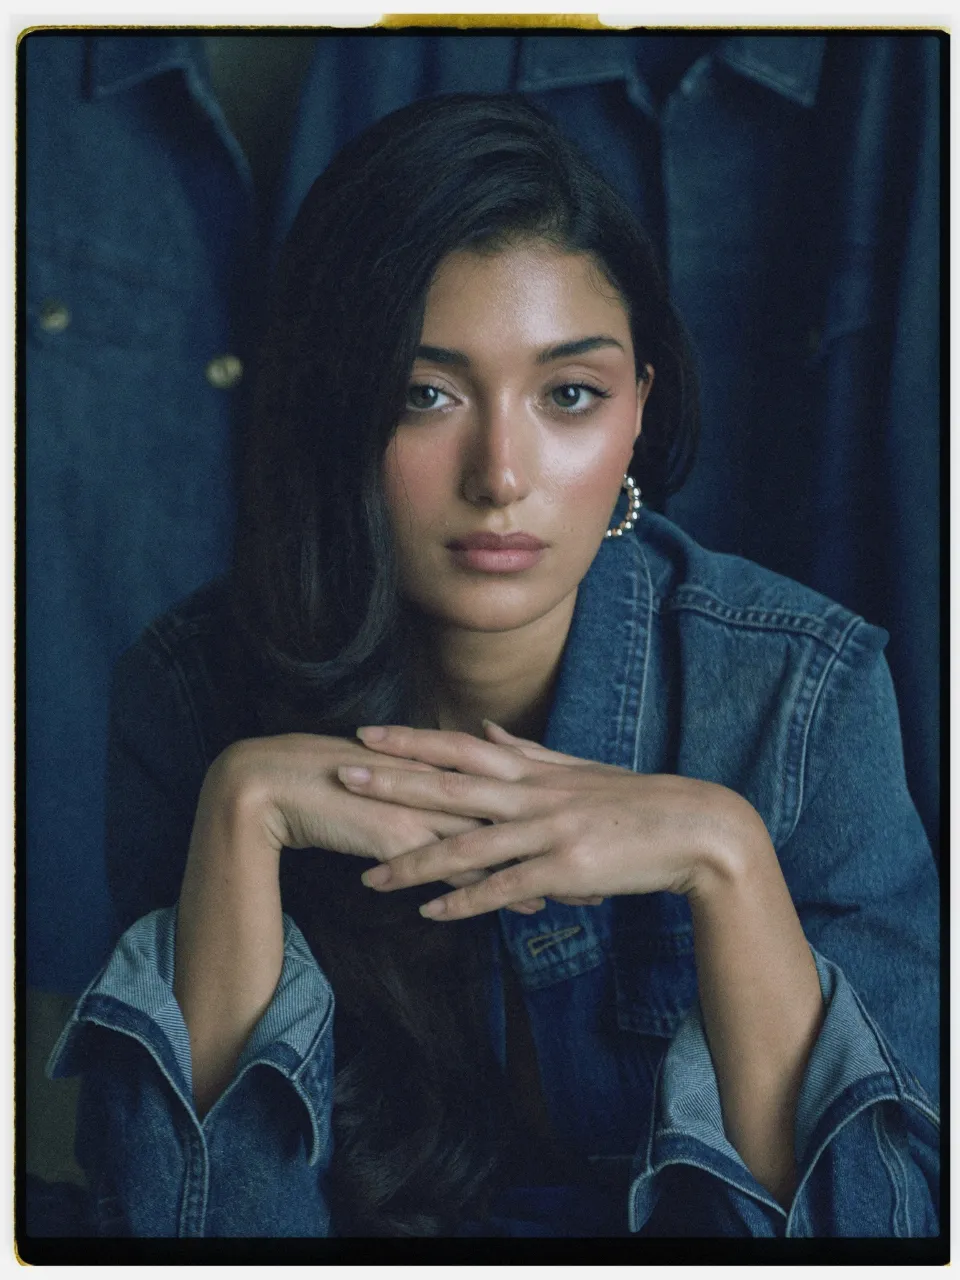
Choose the film stock first. Chromogen's Film Stock workspace (press 2) lists 13 stocks measured from real film, 36 looks in all. Hover a stock and the photo previews it before you commit. Click to apply it. In the free trial 5 of the 13 are usable and the other 8 still preview on hover.
The samples are the 13 film stocks on the home page, and the measurement is on how each film stock is measured.
| Stock | Character | Looks |
|---|---|---|
| Aureon 100 | vivid fine-grain negative | 2 |
| Azura 100 | precise cool slide | 4 |
| Solia 200 | golden warm scan | 3 |
| Cira 200 | easy consumer scan | 2 |
| Meridian 250 | daylight cine | 3 |
| Viridia 250 | vivid daylight cine | 2 |
| Verel 400 | soft pastel negative | 3 |
| Sevra 400 | gentle portrait negative | 3 |
| Aurex 400 | versatile consumer negative | 3 |
| Vesper 400 | classic consumer negative | 2 |
| Argent 400 | true-black mono negative | 2 |
| Nocta 500T | tungsten cine negative | 3 |
| Prisma | crisp digital slide look | 4 |
The character lines say where to start. Sevra 400, the gentle portrait negative, for portraits. Meridian 250 and Viridia 250, the daylight cine stocks, for daylight. Nocta 500T, the tungsten cine negative, for tungsten light. Argent 400, the true-black mono negative, for black and white. Black-and-white stocks add the classic contrast filters, yellow, orange, red and green, computed as glass in front of the lens. Darkroom toners follow: sepia, selenium, gold, blue or a split, each with a strength control. Nocta 500T carries a Tungsten Balance axis for tungsten film in daylight, where skies go cyan while lamps stay warm, and a Fluorescent Cast control.
- Press 2 for Film Stock and hover each stock; the photo previews it.
- Click the one you want; click another to replace it, or Ctrl+Z (⌘Z) to go back.
- Set Stock Amount: new photos start at 100 for RAW and 70 for JPEG, and it over-drives to 150%.
Presets sit on top. Film Stock is the base look and a preset is a creative layer with its own amount, so changing a preset never replaces your stock.
What does Shot Exposure do in Chromogen?Shot Exposure.
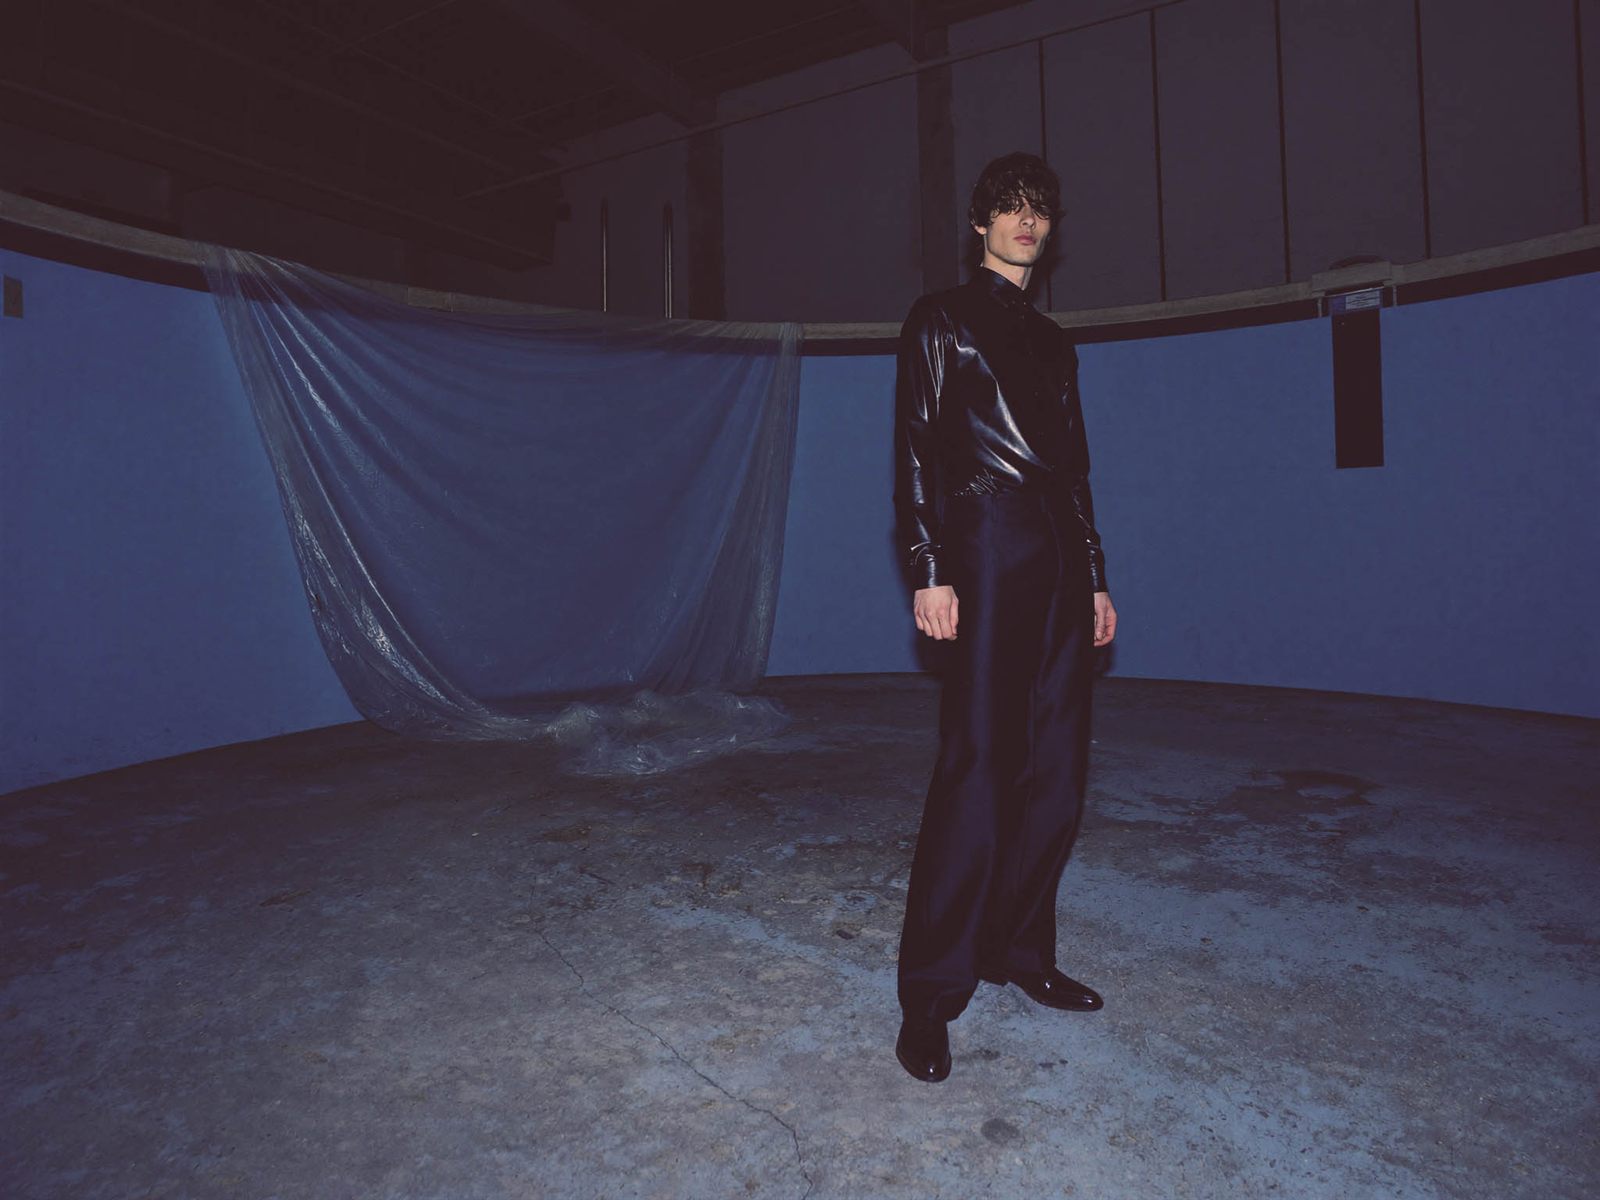
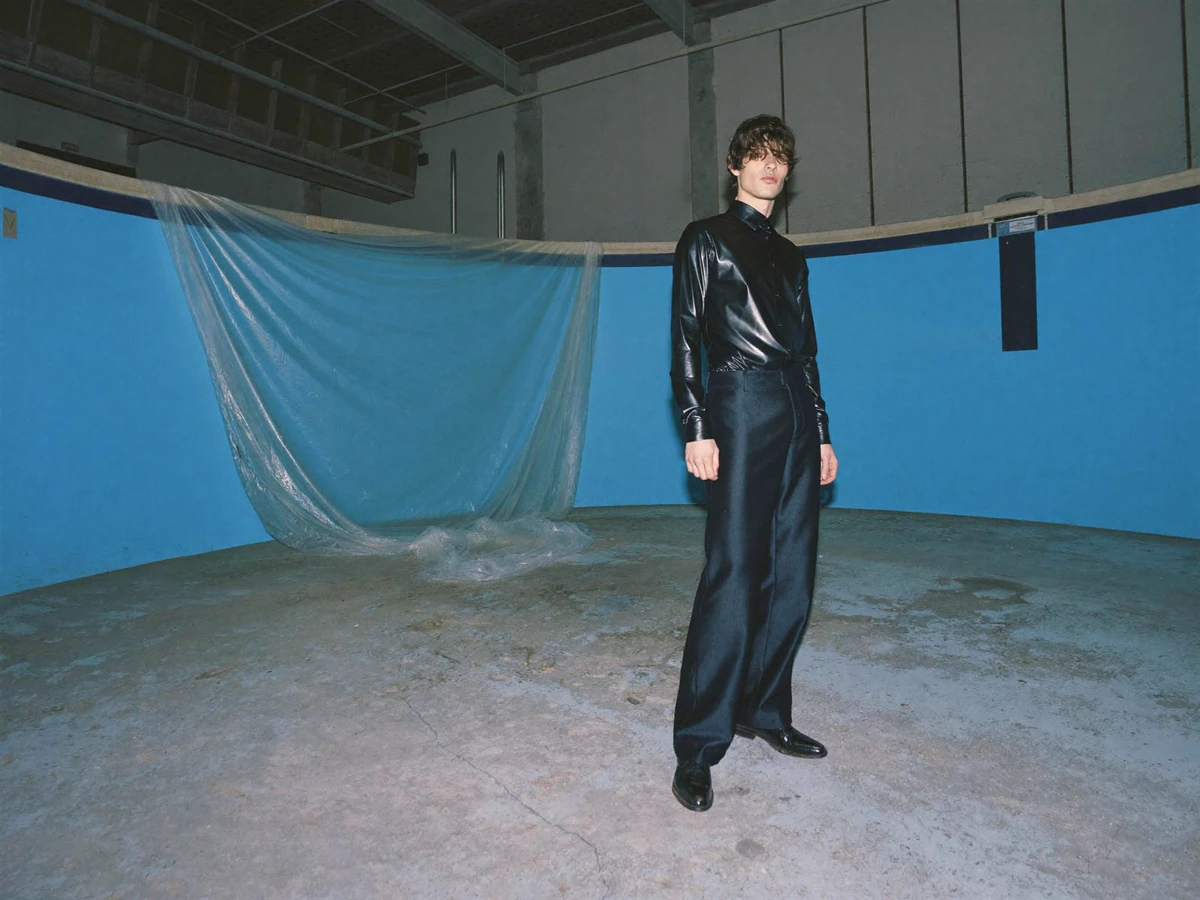
In Chromogen, Shot Exposure re-creates an under- or over-exposed negative on the Film Stock card. It runs in whole stops from Under 3 through As metered to Over +3. It changes the film's character, not your exposure. Under gives a thin negative: lifted, faded shadows, muted colour, more grain. Over gives a dense negative with soft pastel highlights.
The in-app tip puts it in two sentences: “Underexposure adds grain and mutes color. Overexposure softens color and reduces grain.”
- On the Film Stock card, find Shot Exposure under the stock.
- Set it one or two stops under for a thin, faded, grainier frame, or over for soft pastel highlights.
- Fix real brightness in Develop, not here; Shot Exposure changes the film's character.
- Or type ‘shot exposure -1’ into the assistant command bar (Ctrl+K on Windows, ⌘K on macOS).
What are push and pull development?Push and pull.
In Chromogen, Development runs from Pull 2 through Normal to Push +3 on the Film Stock card. Push over-develops the film: brighter mids, more contrast, more grain. Pull under-develops it: flatter, creamier, finer grain. Set Shot Exposure to how the frame was shot first, then push or pull it the way a lab would.
The in-app tip: “Push increases contrast and grain. Pull reduces contrast and grain.” The companion adds: “Push and pull live with the film stock: shoot dark, develop longer.”
- Set Shot Exposure first, to how the frame was shot.
- Then set Development: push after a dark frame, for contrast and grain.
- Pull to flatten contrast and quieten grain; Pull 2 is the limit.
- Or type ‘push 1’ into the assistant command bar (Ctrl+K on Windows, ⌘K on macOS).
How do I set white balance, exposure and lens correction?Develop.
Chromogen's Develop workspace (press 3) holds exposure, tone and white balance. White Balance offers As Shot, Auto and Custom, and a pipette (W). RAW Develop serves RAW files, with Highlight Recovery; Basic Adjustments serves other files. Auto develop, the button at the top of Basic Adjustments (RAW Develop for a RAW file), meters a photo as a starting point.
Curves and Geometry follow. Highlight Recovery pulls detail back into blown skies from the RAW file's hidden headroom. A sky the camera clipped is rebuilt from the data the sensor still holds.
Auto Develop meters brightness, balance and tone in one click, on RAW and JPEG alike, and keeps the film stock, effects and crop. In the picture at the top of this page its button sits at the top of Basic Adjustments. Lens correction goes on before the film. Turn on Auto lens correction under Effects ▸ Optics & Geometry ▸ LENS. The lens named in the photo's EXIF, from over 1,500 built-in profiles, has its distortion, colour fringing and vignetting corrected. If the photo names no lens, choose it from the list. It is off by default per photo; Settings ▸ Editing ▸ LENS turns it on for photos you open for the first time.
- Press 3; press Auto develop at the top of Basic Adjustments (RAW Develop for a RAW) for a metered start.
- Or set White Balance yourself: As Shot, Auto, Custom, or press W and click something neutral.
- For a RAW, set Exposure, then Highlight Recovery for a blown sky, then Highlights, Shadows, Whites, Blacks.
- Under Curves, turn on Pull from photo and drag on the photo: up brightens that tone, down darkens it.
- In Effects ▸ Optics & Geometry ▸ LENS, turn on Auto lens correction.
How do I add grain, halation and a film border?Grain, halation,
borders.
Grain, halation and film borders start on the Film Stock card. Film Grain and Film Halation run 0 to 150% there; for grain, 100% is the stock's own default. The Film border picker beside them offers Off, Scan edge, Lab scan, 35mm strip and Medium format. The Grain, Halation and Acutance cards in Effects (press 6) go deeper.
Film grain is the grain a lab scanner reads from real film. The colour stocks carry their own, and grain on a photo without a film stock is a lab scan's grain. The Grain card offers the stock's own grain (auto), Fine Grain, Silver Rich, Soft Grain, Cubic Grain, Tabular Grain and Harsh Grain. A fine-tune fold holds Size, Crispness, Colour and Shadow grain, and it renders on the graphics card.
Halation is modelled in linear light, so bright lights bloom the way film behaves and each stock keeps its own glow signature. The Halation card has a strength slider plus Threshold, Radius, Tint and Glow. Threshold is how bright a light must be before it blooms through the film base; Radius is how far the red-orange glow spreads. Bloom is a separate card.
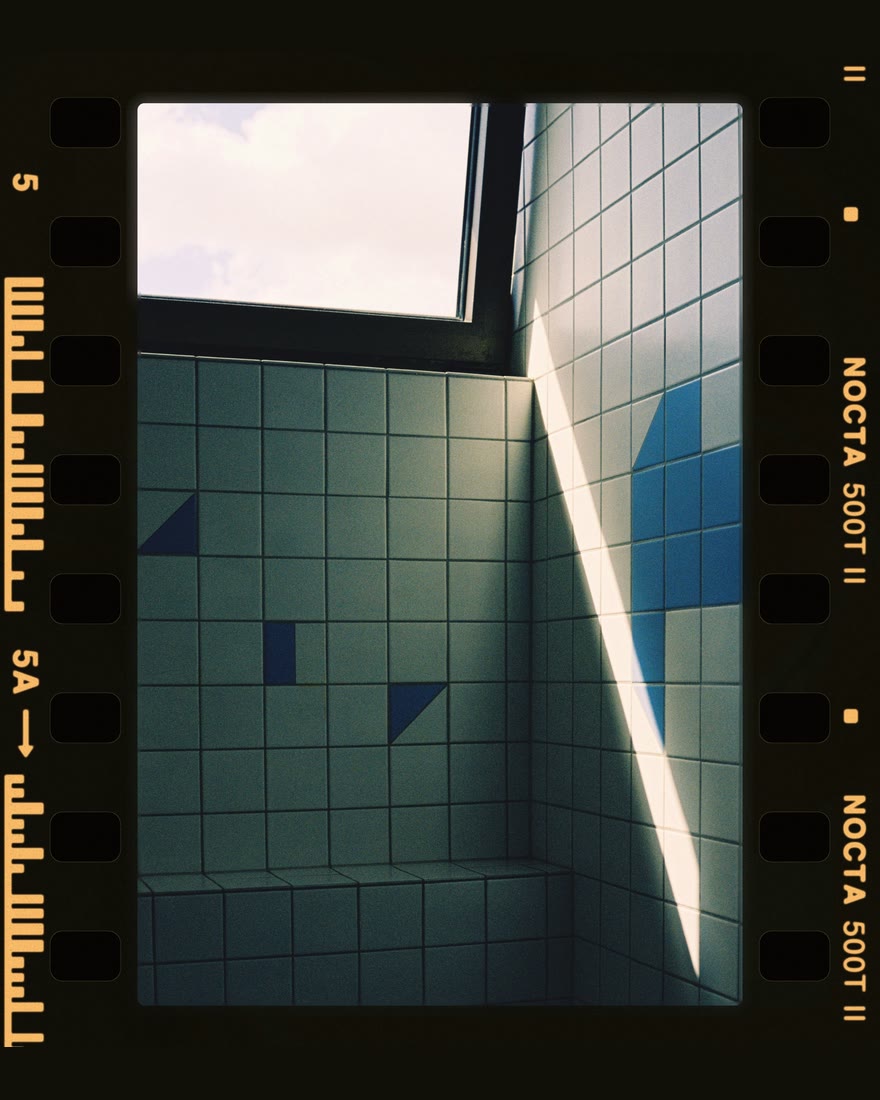
The 35mm strip has sprocket holes at true dimensions, frame numbers and an editable edge print. Medium format frames are drawn from real 120 film scans. Lab scan, the default, lays real lab-scanned 35 mm frames over the photo. Instant-film prints come in square, mini and wide formats with a real scanned instant border. The Light Leak card has ten characters, from Edge Fog to Full Veil.
- On the Film Stock card, set Film Grain and Film Halation; for grain, 100% is the stock's default.
- Press 6 for Effects; in Grain, pick a Type or keep the stock's own (auto) grain.
- In Halation, raise Threshold so only real lights bloom, then set Radius for the spread.
- Pick a Film border; click the little eye on any effect card to hide that effect, and click again to bring it back.
- Double-click the photo for an exact 100% view and judge the grain there.
How do I make local adjustments with masks?Masks.
Chromogen's Masking workspace (press 4) edits one part of a photo at a time. Six mask types: Brush, Gradient, Radial, Luma, an on-device AI Subject mask and a click-to-select Object mask, plus an edge-aware Auto mask brush. Every mask is reversible, has Amount and Invert, and nothing leaves your computer.
Dodge and burn live here too. A mask is drawn at up to 2048 px with smooth edges. Each mask row shows a picture of the mask and a plain description, and one Show mask switch (Auto, On, Off) controls the tint. Pen pressure is supported.
- Press 4 for Masking and pick Subject, Object, Brush, Gradient, Radial or Luma.
- Paint with B: [ and ] set size, Shift + [ / ] hardness; Alt-drag (⌥ on macOS) erases.
- Press X to invert the mask, O to keep the tint on the photo; then set Amount.
- Set Show mask to Auto, On or Off; each mask has Invert and its own Amount.
How do I retouch a portrait and keep skin real?Retouch.
In Chromogen, Retouch finds the faces in a photo and works by part. The Face card has Skin (Skin Cleanup, Eye bags), Outline, Eyes, Nose and Mouth. A Makeup card and the reshape tools Push, Grow, Shrink and Restore sit beside it. Skin Cleanup keeps textured and freckled skin as skin. The Heal tool (J) repairs the rest.
The Heal tool has one switch for Heal, Clone and Remove. Remove fills the gap from the photo itself, the film look and grain go on over it, and nothing leaves your computer.
Faces turned on their side are found too, and the precision models come with the app. The Makeup card adds eyeliner in three styles, mascara on the photo's own lashes, kohl, brows and Lip Makeup.
- Open Retouch; on the Face card choose Skin, then under Skin Cleanup press Basic or Flawless.
- Press J for Heal: click a blemish or paint over it; / hunts for a cleaner clone source.
- Switch the Heal bar to Remove and brush over a thing; the gap fills from the photo.
How do I copy one edit to a whole shoot?One edit,
a whole shoot.
Chromogen copies one develop onto a shoot two ways: Copy edit / Paste edit to selected on the right-click menu, and the Sync Edits… chip with its ten groups. Two more Library chips meter instead of copying: Auto develop… meters every ticked photo on its own, and Match photos… matches exposure and colour within each scene.
Sync Edits copies edits from the active photo to the checked photos. If no photo is active, the photo open in Develop is used. Ten groups, all ticked by default: Film Stock, Preset / LUT, RAW Develop, Lens Corrections, Tone, White Balance, Color & Grading, Curves, Effects and Darkroom (local adjustments).
- Develop one photo from the shoot fully: stock, exposure, development, grain.
- In the Library (press 1), tick the photos to receive it; Shift-click selects a run.
- Press the Sync Edits… chip, untick what should stay per photo, then press Apply to N.
- Or right-click the developed photo, Copy edit, select the others, then Paste edit to selected.
How do I use Chromogen with Lightroom Classic or Capture One?Round trip.
Chromogen opens from Lightroom Classic and Capture One as an external editor and saves back into the same file. Set it up once in Lightroom Classic's Edit in / Additional External Editor or Capture One's Open With. The photo opens in Chromogen; press Save (Ctrl+S on Windows, ⌘S on macOS) and the develop is written back, no exports, no duplicates.
Save & Return writes the develop into the open JPEG or TIFF itself. The Save button names where it will go and appears only when a writable raster file is open. A RAW keeps its sidecar and uses Export instead.
Going the other way, right-click ▸ Send to ▸ Capture One, Lightroom or Photoshop. They get a full-size TIFF of your edit, saved beside the original.
- In Lightroom Classic, add Chromogen under Edit in / Additional External Editor; in Capture One, Open With or Edit With.
- Send the photo across; develop it, then press Save (Ctrl+S on Windows, ⌘S on macOS).
- For a RAW, press Export instead, or right-click ▸ Send to ▸ Lightroom, Capture One or Photoshop.
The Presets workspace imports Lightroom presets (.xmp, .lrtemplate), Capture One styles (.costyle, .costylepack), ICC profiles (.icc, .icm) and .cube LUTs as native looks. Each has an amount dial from 0 to 150, so a preset can sit under a film stock at any strength. Pointing at an imported preset previews it on your photo before you click. Preset and LUT import unlocks with a license. Coming from Lightroom: what carries over has the rest.
| App or file | How it connects |
|---|---|
| Lightroom Classic | Edit in / Additional External Editor opens the photo; Save writes the develop back into the same file |
| Capture One | Open With or Edit With opens the photo; Save writes it back |
| Photoshop, Lightroom, Capture One | Send to hands over a full-size TIFF of the edit, saved beside the original |
| Lightroom presets, Capture One styles | .xmp, .lrtemplate, .costyle and .costylepack import as native looks with an amount dial |
| ICC profiles and LUTs | .icc, .icm and .cube import as native looks |
| 16-bit TIFF and PNG | 16-bit TIFF and PNG open at their full depth. Compressed and 16-bit TIFFs saved by Photoshop, Capture One, Lightroom and film scanners open with colours following the embedded profile |
How do I export for Instagram, a photo book or print?Export.
Chromogen's Export opens one window (Ctrl+E on Windows, ⌘E on macOS) that lists every photo the Library shows, each with a tick. A live preview shows the highlighted photo at output size with its file name, pixel size and file size. Three preset chips: Web & social at 2048 px, Print lab at 8000 px, Master as a TIFF.
An export is a finished copy written beside the original or into a folder you choose, never over the original. The preview renders through the same path as the export itself, so the two agree. Formats are JPEG, PNG, TIFF and PDF. JPEG quality is Good 77, High 92 or Max 100. Size is Full, 4096, 2048, 1024 or Print, and smaller never upscales. Location and GPS are never written into an export.
| Target | What Chromogen writes |
|---|---|
| Web and social | JPEG at 2048 px, quality 77 (the Web & social preset); keep Colour space on sRGB, the recommended setting for web and general use; + Save current… keeps your own presets |
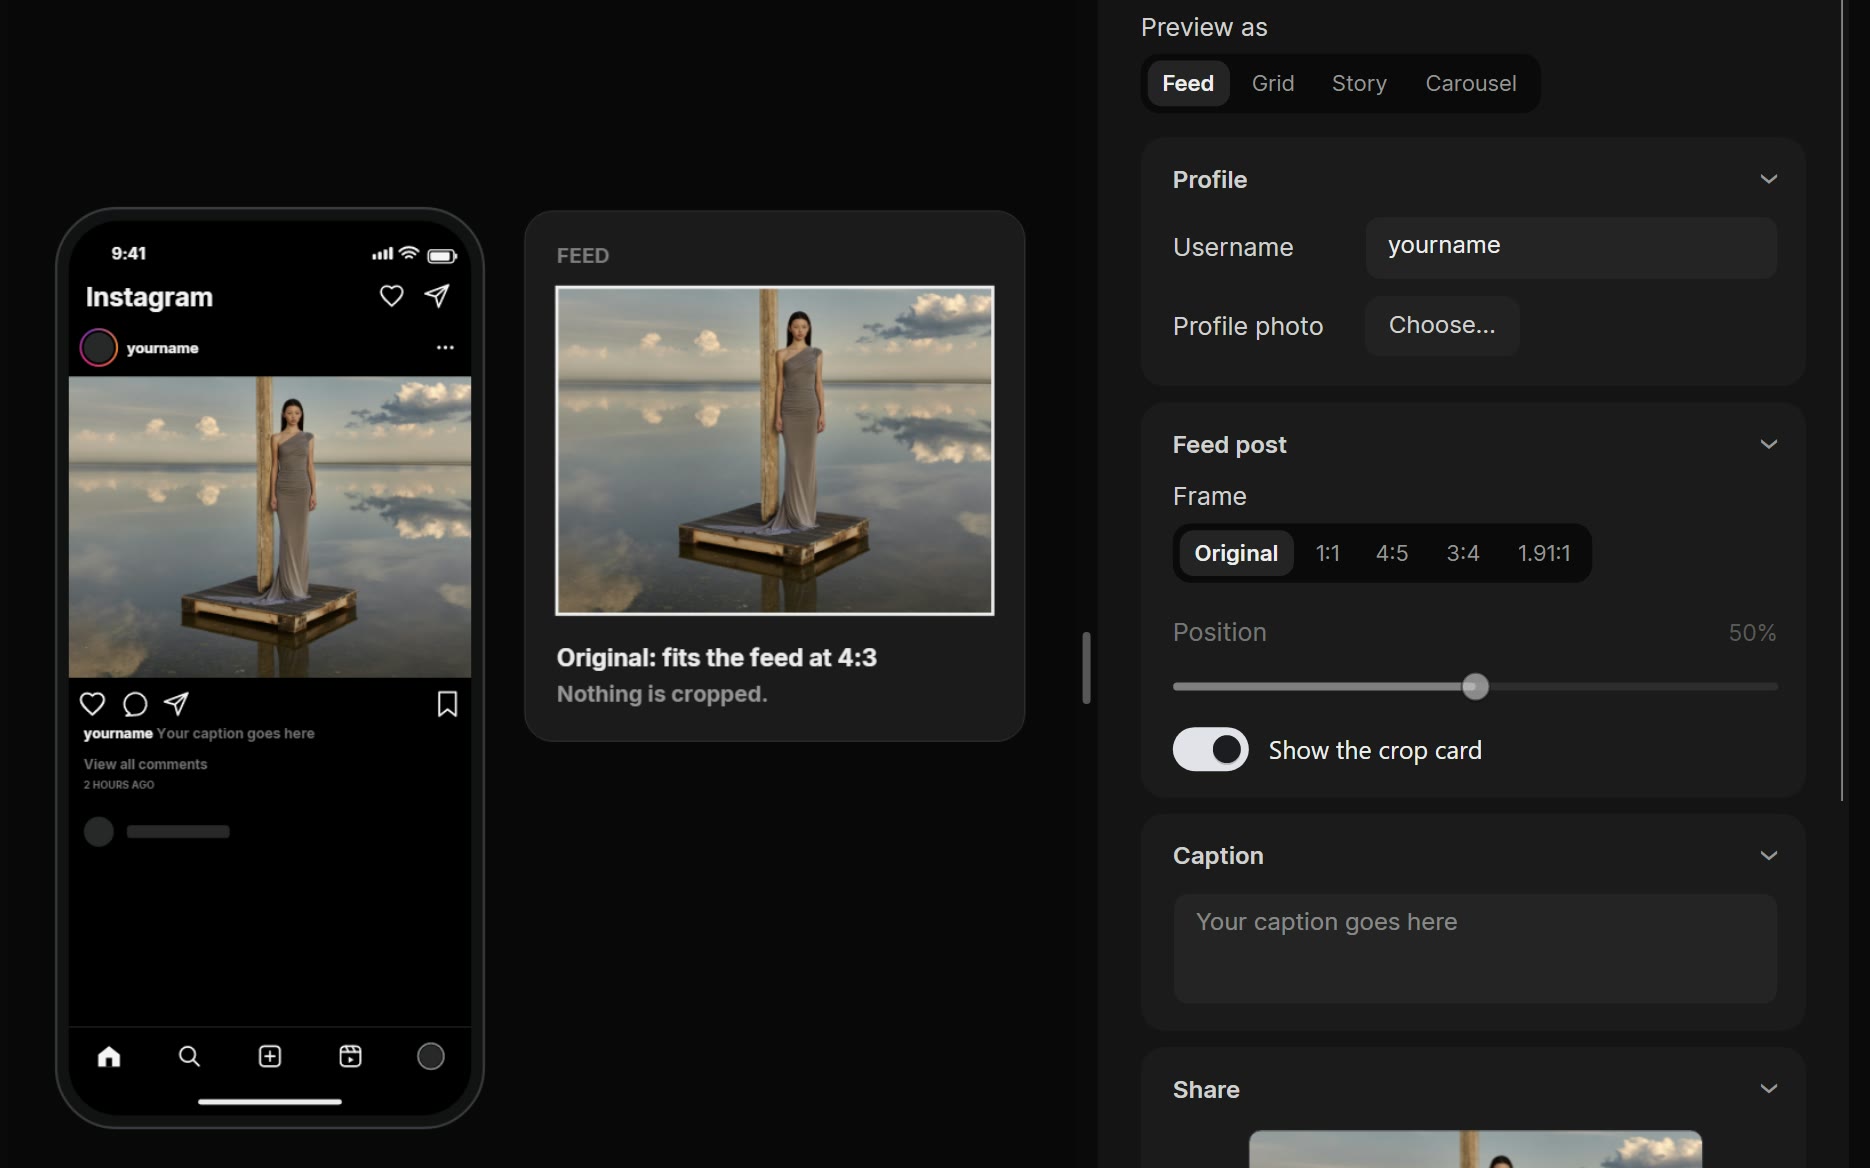
| The Instagram page previews feed, grid, story, reel and carousel on a phone; Export for Instagram writes a 1080 px sRGB JPEG, a story at 1080 × 1920, a carousel of up to 20 slides | |
| Size ▸ Print: a paper size from 4 × 6 in to 30 × 40 in, A5 to A0, centimetre, square and office sizes or a custom size, at 150 to 360 ppi; crop marks, colour bars and bleed; soft proofing through a lab or paper ICC profile | |
| Photo book | Book Studio exports Interior and Cover PDFs for Blurb and Lulu, spreads for Saal Digital, one cover-first PDF for Peecho and Prodigi, and page images for Printique, Mixbook, Shutterfly and Artifact Uprising |
| Mockups | The photo in 45 scenes; export at 2000, 3000 or 4000 px in 16:9, 1:1, 4:5 or the scene's own framing |
| A client's wall | Your wall shows a framed print at its true size on the client's own wall, measured from a photo of the room |
| Master | The Master preset: TIFF at 8000 px, quality 100; Colour space sRGB, Adobe RGB, Display P3 or ProPhoto, the ICC profile embedded |
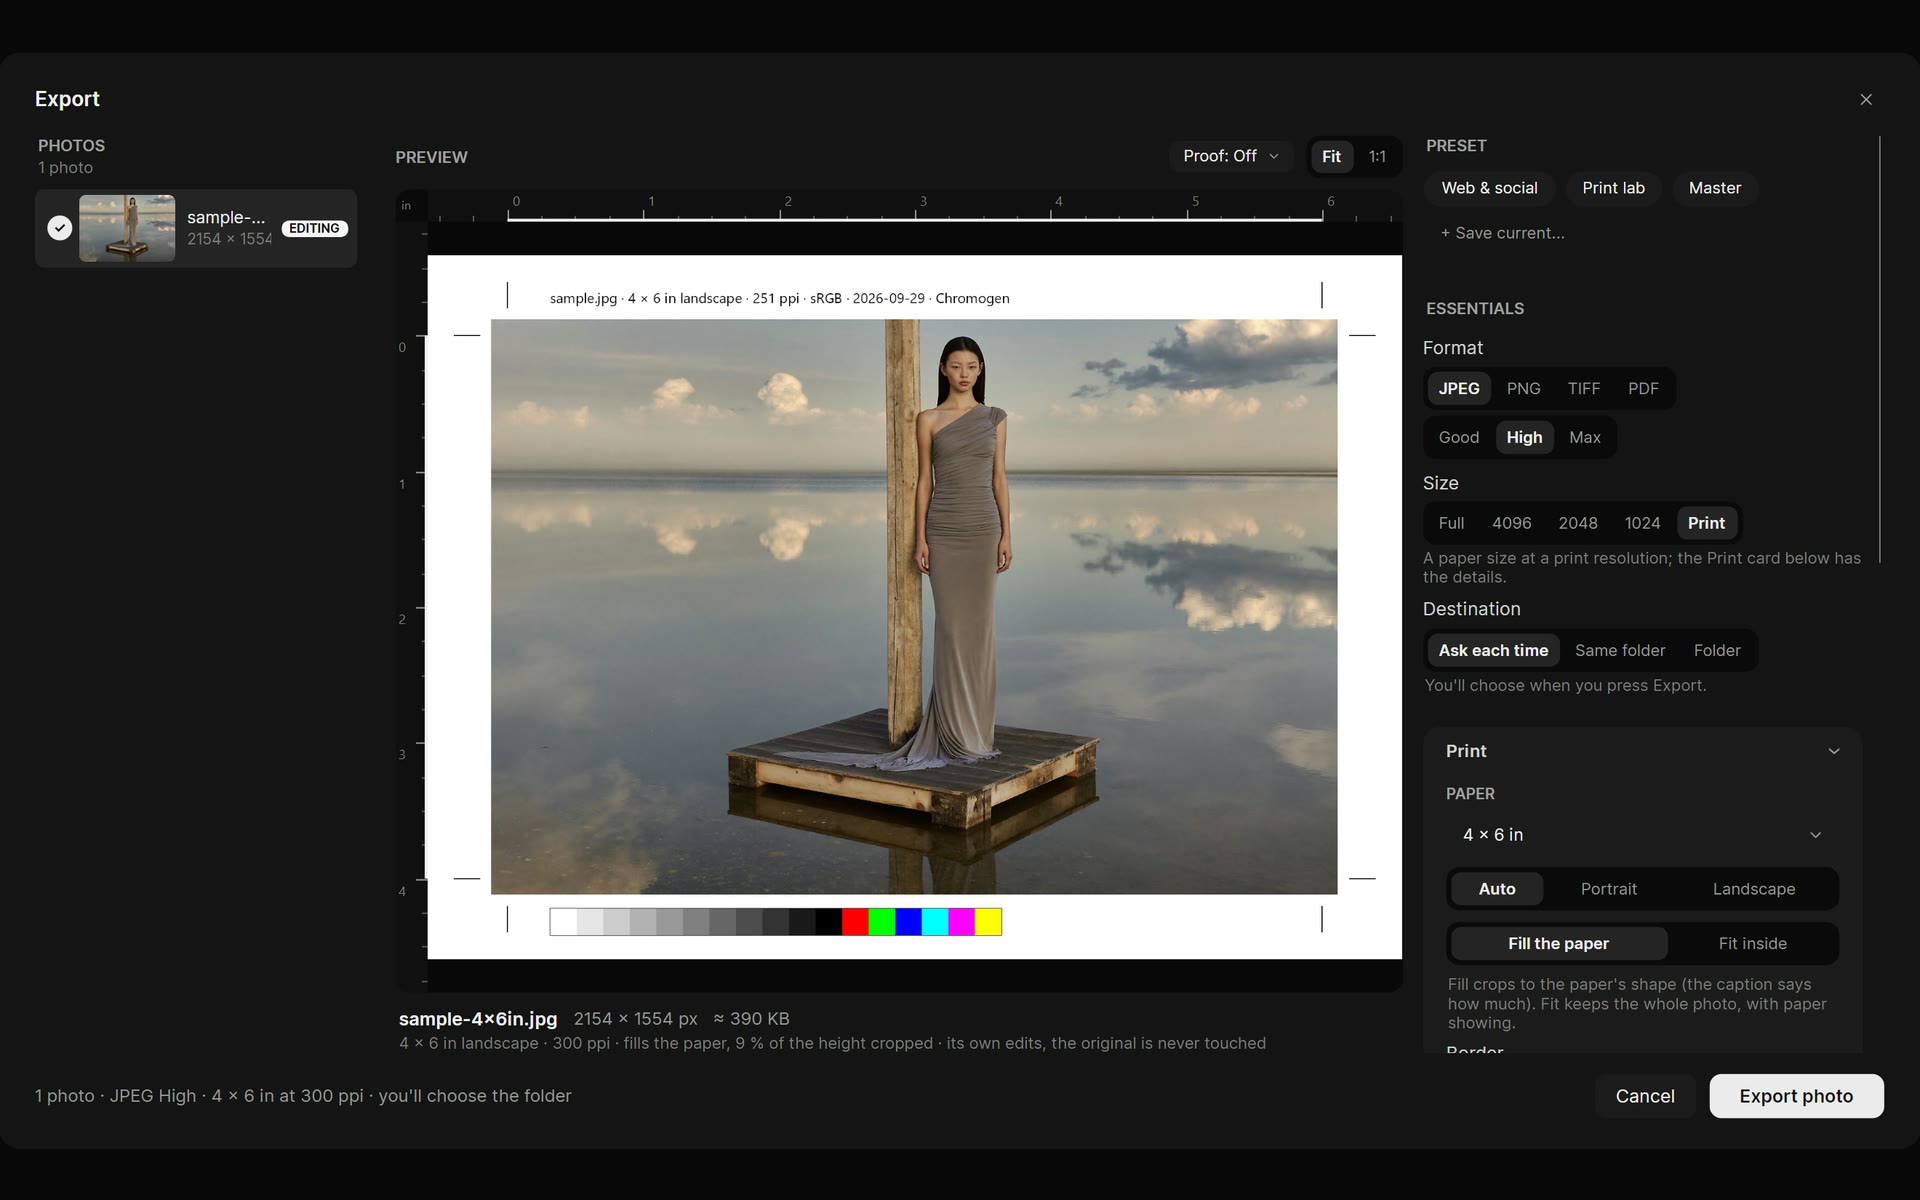
For print, 300 ppi is the lab standard and 200 to 240 is plenty for a wall print. Printer's marks are drawn outside the trim, and a lab wants none of them.
- Press Ctrl+E (⌘E on macOS); tick the photos, or pick a collection to export it whole.
- Choose a preset chip, Web & social, Print lab or Master, or set Format, Size and Destination.
- For a print, set Size to Print, pick the paper and 300 ppi; Crop marks only for a shop.
- For Instagram, open the Instagram page, pick the frame, drag the crop and press Export for Instagram.
- Press Export photo (or Export N photos); Ctrl+Shift+E (⇧⌘E) repeats the last settings with no window.
Until you buy, exports cap at 2048 px on the long edge, with no watermark.
Where do I see what changed in the latest version?Updates.
Chromogen checks for updates automatically and shows an Update pill in the top bar when a new version exists. Settings ▸ General ▸ ABOUT has Check for updates and a Get the update button that opens the download. Every Windows and macOS version with its date is listed, newest first, in the release notes.
Both platforms run the same app, so they look and work the same, and each carries its own version number; read the release notes for yours. Install the update from the download page. On Windows it installs over the old version and opens as your app, with license, settings, library and edits intact.
Questions and feature requests go to halide@chromogen.app, straight to the person who writes the code. In the app, Settings ▸ General ▸ SUPPORT ▸ Contact support….
What else do new users ask?Questions.
The first roll raises eight more questions, answered below. They cover the kind of software it is, where edits live, whether RAW is needed and why the trial stops at 2048 px. Then undoing a stock, whether photos leave the computer, moving one license between machines, and what helps before a shoot.
What kind of software is Chromogen?
Chromogen is a film emulation photo editor for Windows and macOS. It is a desktop application, not a plugin, not a web app and not a mobile app. It needs no other editor underneath, though it opens from Lightroom Classic and Capture One. It develops 16-bit RAW, JPEG, PNG and TIFF photos through 13 film stocks measured from real film, 36 looks in all, and exports finished copies.
Where are my edits saved?
Beside the photo. Chromogen writes every adjustment to a small .chromogen.json sidecar next to the original, so the original file is never changed. The edit opens again on Windows or macOS, masks included. Move the photo and its sidecar together and the edit travels with it. The one exception is Save in a round trip, which deliberately writes the develop into the open JPEG or TIFF.
Do I need to shoot RAW to get the film look?
No, but RAW gets the most out of it. Chromogen opens JPEG, PNG, TIFF and BMP as well as 16-bit RAW files from the major camera makers. A RAW is developed scene-linear with highlight reconstruction, so the full 16-bit file keeps highlight and shadow latitude. A JPEG opens with Basic Adjustments instead of RAW Develop, and every other tool applies to it.
Why does the trial export stop at 2048 px?
Because that is the trial's export size. Chromogen's free 4-day trial gives you the real app on your own photos, full RAW developing and 5 of the 13 film stocks. Exports are clean up to 2048 px on the long edge, with no watermark. A license lifts the cap to the photo's full resolution. Smaller sizes never upscale, with or without a license.
Can I undo a film stock?
Yes, at any point. Click another stock to replace it, lower Stock Amount to show less of it, or press Ctrl+Z on Windows, ⌘Z on macOS, to step back. Reset Edits in the top bar takes the whole photo back to its source. Settings ▸ Editing ▸ SAFETY can ask you to confirm first. Hold Space to peek at the undeveloped original.
Do my photos leave my computer?
No. Photos are edited on your computer and are not sent to Chromogen. The optional AI assistant is off by default. If you turn it on with your own API key, it sends the current preview to the AI provider you choose. The AI Subject mask runs on your device, and Remove fills a gap from the photo itself.
Can I use one license on my laptop and my desktop?
One at a time. The same key activates the Windows app and the macOS app, on one computer at a time. Move it between your own machines freely by entering the same key on the new computer. Running two computers at once on one key needs a second license. If activation is stuck, email halide@chromogen.app.
Can Chromogen help before the shoot?
Yes. Chromogen's Moodboard holds references. Paste images in from anywhere and the board reads its own colour palette, tidies them into rows or a grid, or arranges them by colour. The Calendar keeps shoots with call sheets, to-dos, labels on dates and an edit meter for every day.
Free to try · Windows & macOS
Develop your first roll
today.
Take the free four days on your own photos and let the first roll decide. No credit card, no watermark.
Free 4-day trial · RAW included · clean exports to 2048px · 5 of 13 film stocks · no credit card